Creating a Map with SLAM Toolbox (Step-by-Step Guide)
Hey there! I'm going to walk you through the full process of how we created a map using SLAM Toolbox in ROS 2. I'll try to explain everything like I'm talking to my grandma slowly, clearly, and with real-world examples.
What is SLAM?
SLAM stands for Simultaneous Localization And Mapping. Imagine you're in a dark room with a flashlight and you try to draw a map as you explore it. You don't know where you are at first, and the room is unfamiliar. But little by little, you build the map while figuring out your position at the same time.
That’s what we’re doing with our robot: making a map and figuring out its location in real-time.
What We Needed (Requirements)
Before we started, we made sure to have:
- ROS 2 Humble installed on our computer 🐢
- SLAM Toolbox package
- A robot model that publishes LaserScan (
/scan) and TF (transform tree) - RViz for visualization
Step 1: Creating the ROS 2 Workspace
We created a workspace where we would build and organize all the packages:
mkdir -p ~/2025-Team-Epibot-Code/week3/IT_pole/tekbot_ws/src
cd ~/2025-Team-Epibot-Code/week3/IT_pole/tekbot_ws
colcon build
source install/setup.bashStep 2: Installing SLAM Toolbox
We installed the SLAM Toolbox package like this:
sudo apt install ros-humble-slam-toolboxStep 3: Launching SLAM Toolbox for Mapping
We created a custom launch file that starts both the SLAM node. Here’s an example:
from launch import LaunchDescription
from launch_ros.actions import Node
import os
from ament_index_python.packages import get_package_share_directory

def generate_launch_description():
    slam_config_file = os.path.join(
        get_package_share_directory('tekbot_control'),
        'config',
        'slam_toolbox.yaml'
    )

    return LaunchDescription([
        Node(
            package='slam_toolbox',
            executable='sync_slam_toolbox_node',
            name='slam_toolbox',
            output='screen',
            parameters=[slam_config_file]
        )
])We saved this in a file called slam_toolbox.launch.py.
Then we ran it:
ros2 launch tekbot_control slam_toolbox.launch.pyStep 4: Driving the Robot to Map
We used keyboard teleoperation to move the robot:
ros2 run teleop_twist_keyboard teleop_twist_keyboardAs the robot moved, SLAM Toolbox automatically updated the map.
Step 5: Visualizing with RViz
Launching RViz via Launch File To open RViz with the robot model and our custom visualization settings, we used the following command:
ros2 launch tekbot_description rviz.launch.pyThis automatically:
Loads the robot description
Starts RViz with our tekbot_des.rviz config file
Displays the live LIDAR data and the map being built in real-time
Make sure tekbot_description is built and sourced before running this:
cd ~/2025-Team-Epibot-Code/week3/IT_pole/tekbot_ws
colcon build
source install/setup.bashHere’s what RViz showed us (automatically or manually added):
The
/maptopic — shows how the environment is being drawnThe
/scantopic — shows what the LIDAR sees (laser beams hitting walls/obstacles)Fixed Frame set to map — this makes all other data align properly in the map frame
If something wasn't showing, we just clicked "Add", selected the appropriate display (like Map or LaserScan), and set the topic accordingly.
Step 6: Saving the Map
Once we were happy with the map, we saved it with:
ros2 run nav2_map_server map_saver_cli -f ~/2025-Team-Epibot-Code/week3/IT_pole/tekbot_ws/src/map_provider/maps/tekbot_mapThis created two files:
tekbot_map.yaml(map configuration)tekbot_map.pgm(actual image)
Some Problems We Faced (And Fixed)
1. Two Maps Showing in RViz
We shut down previous nodes and cleaned old topics to avoid overlapping maps.
2. Map Server Failed to Load the Map
The map_server failed to load the .yaml map file
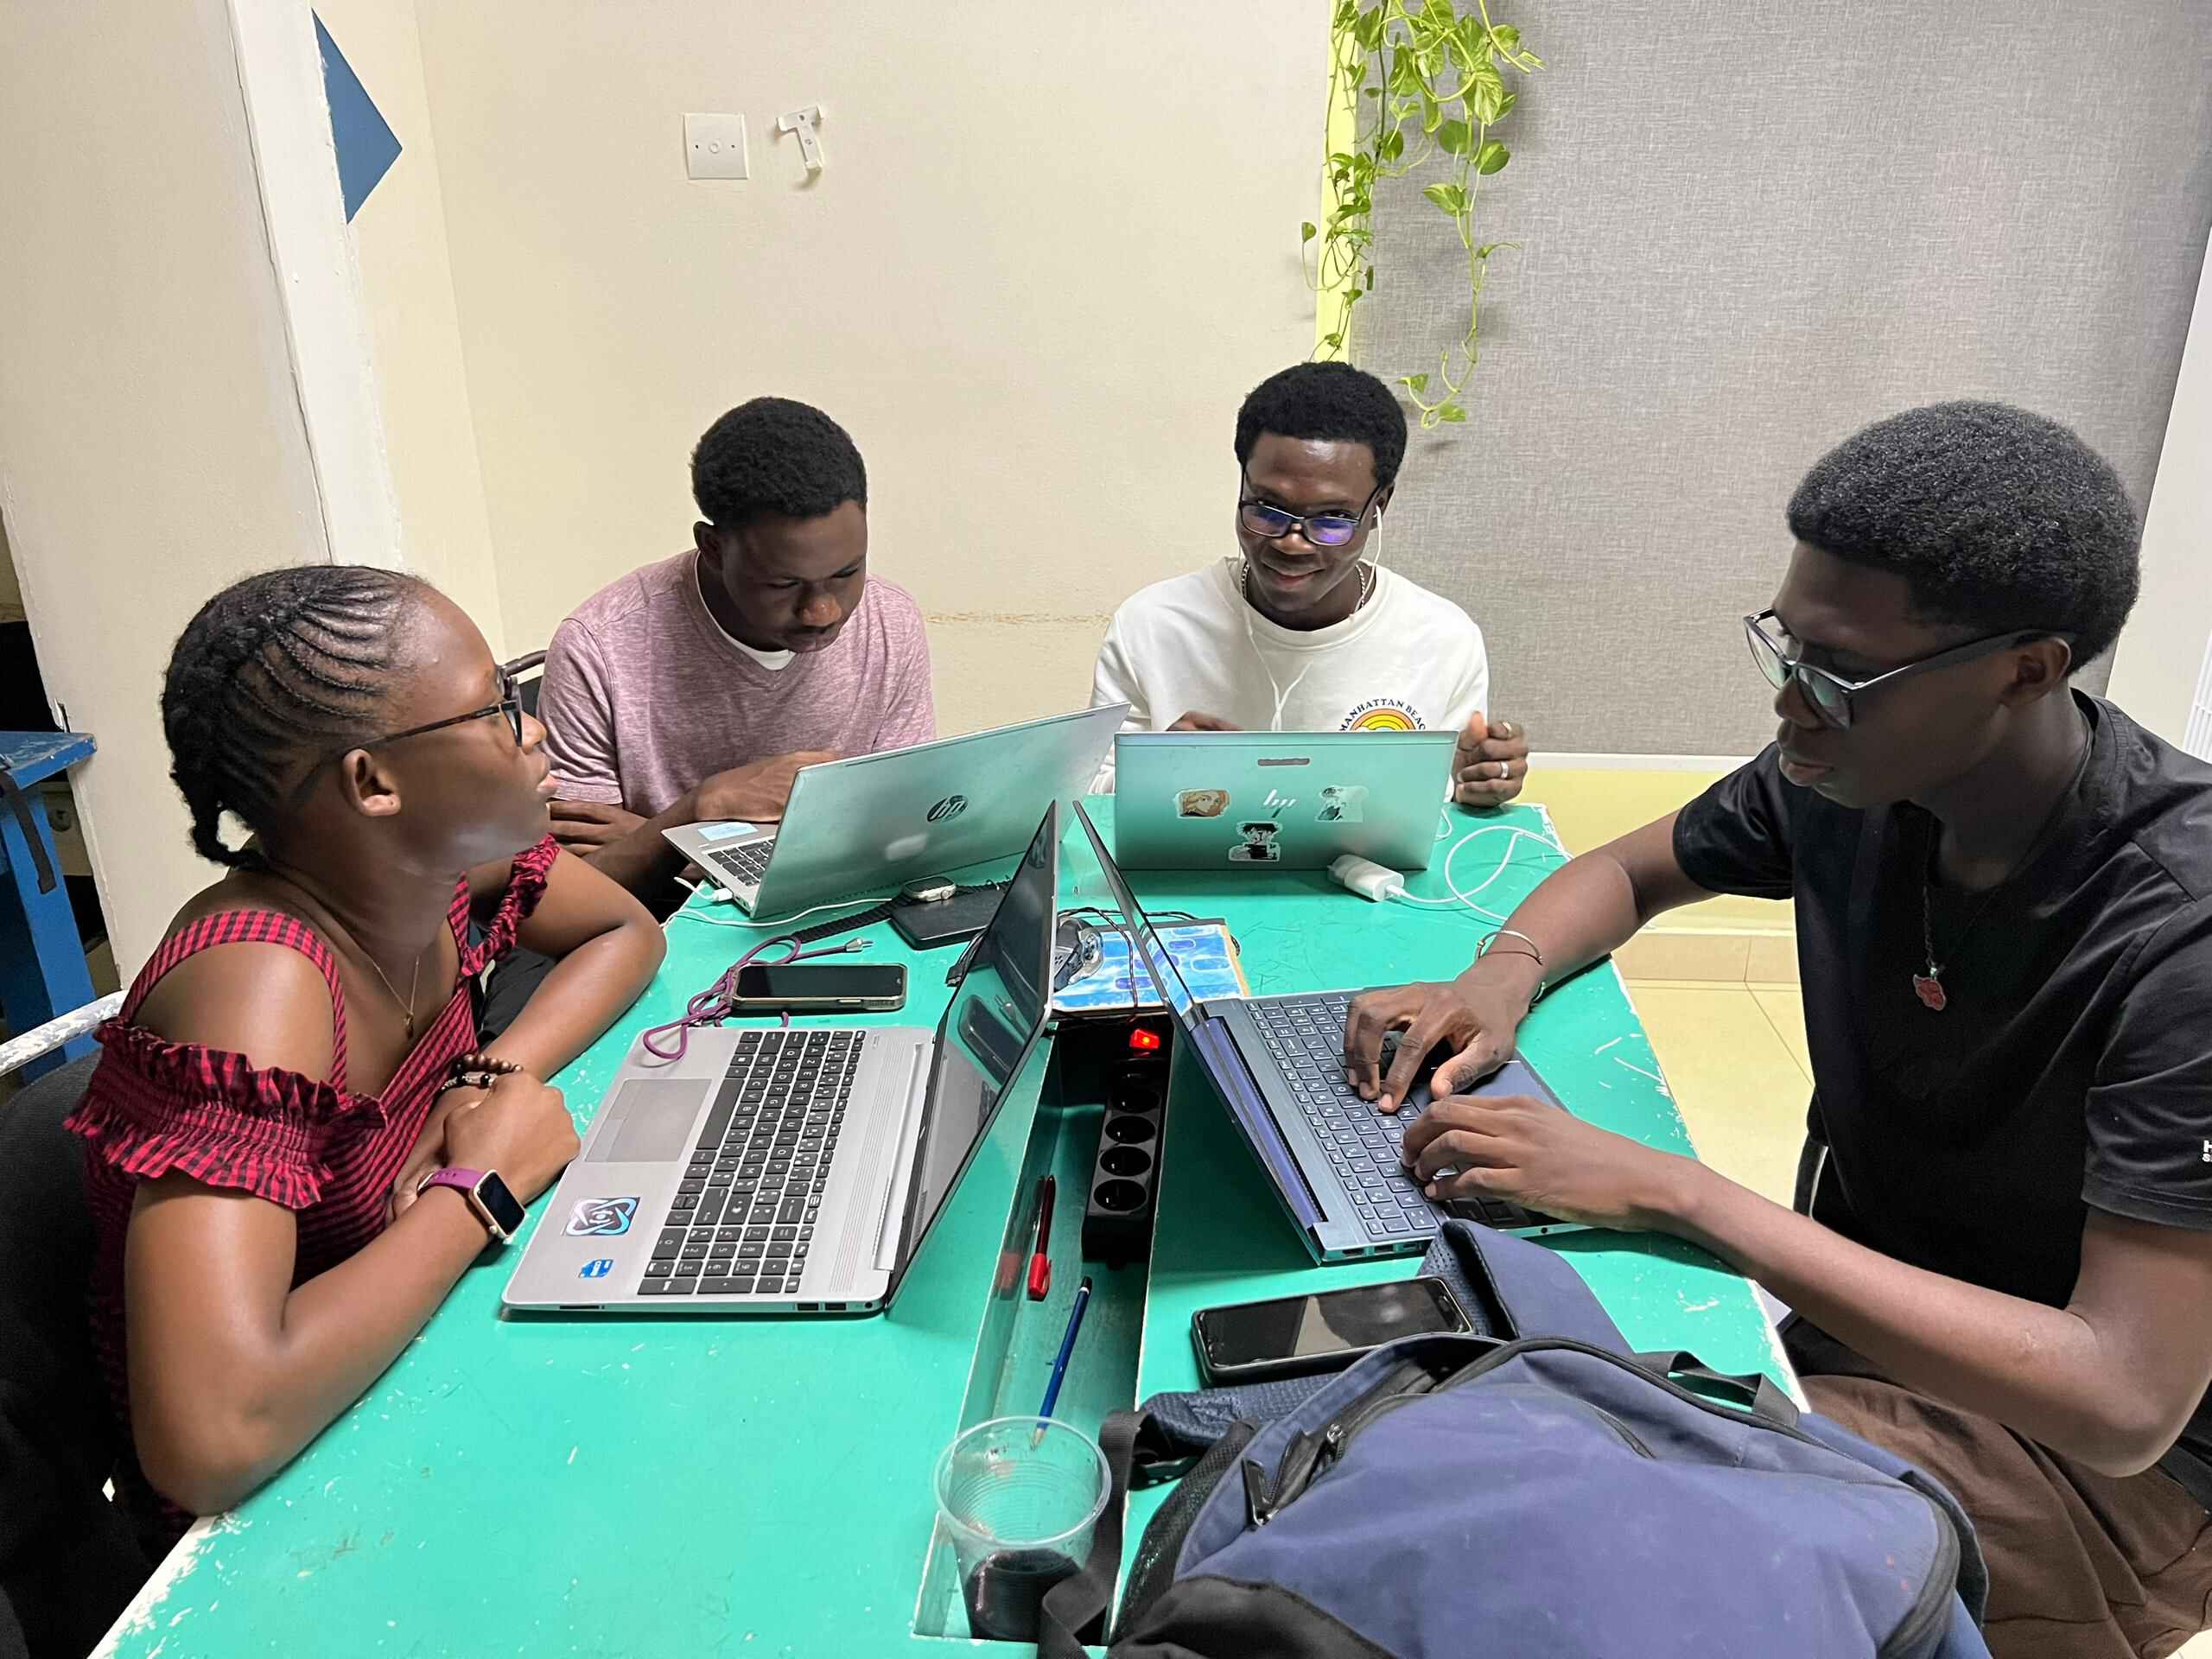
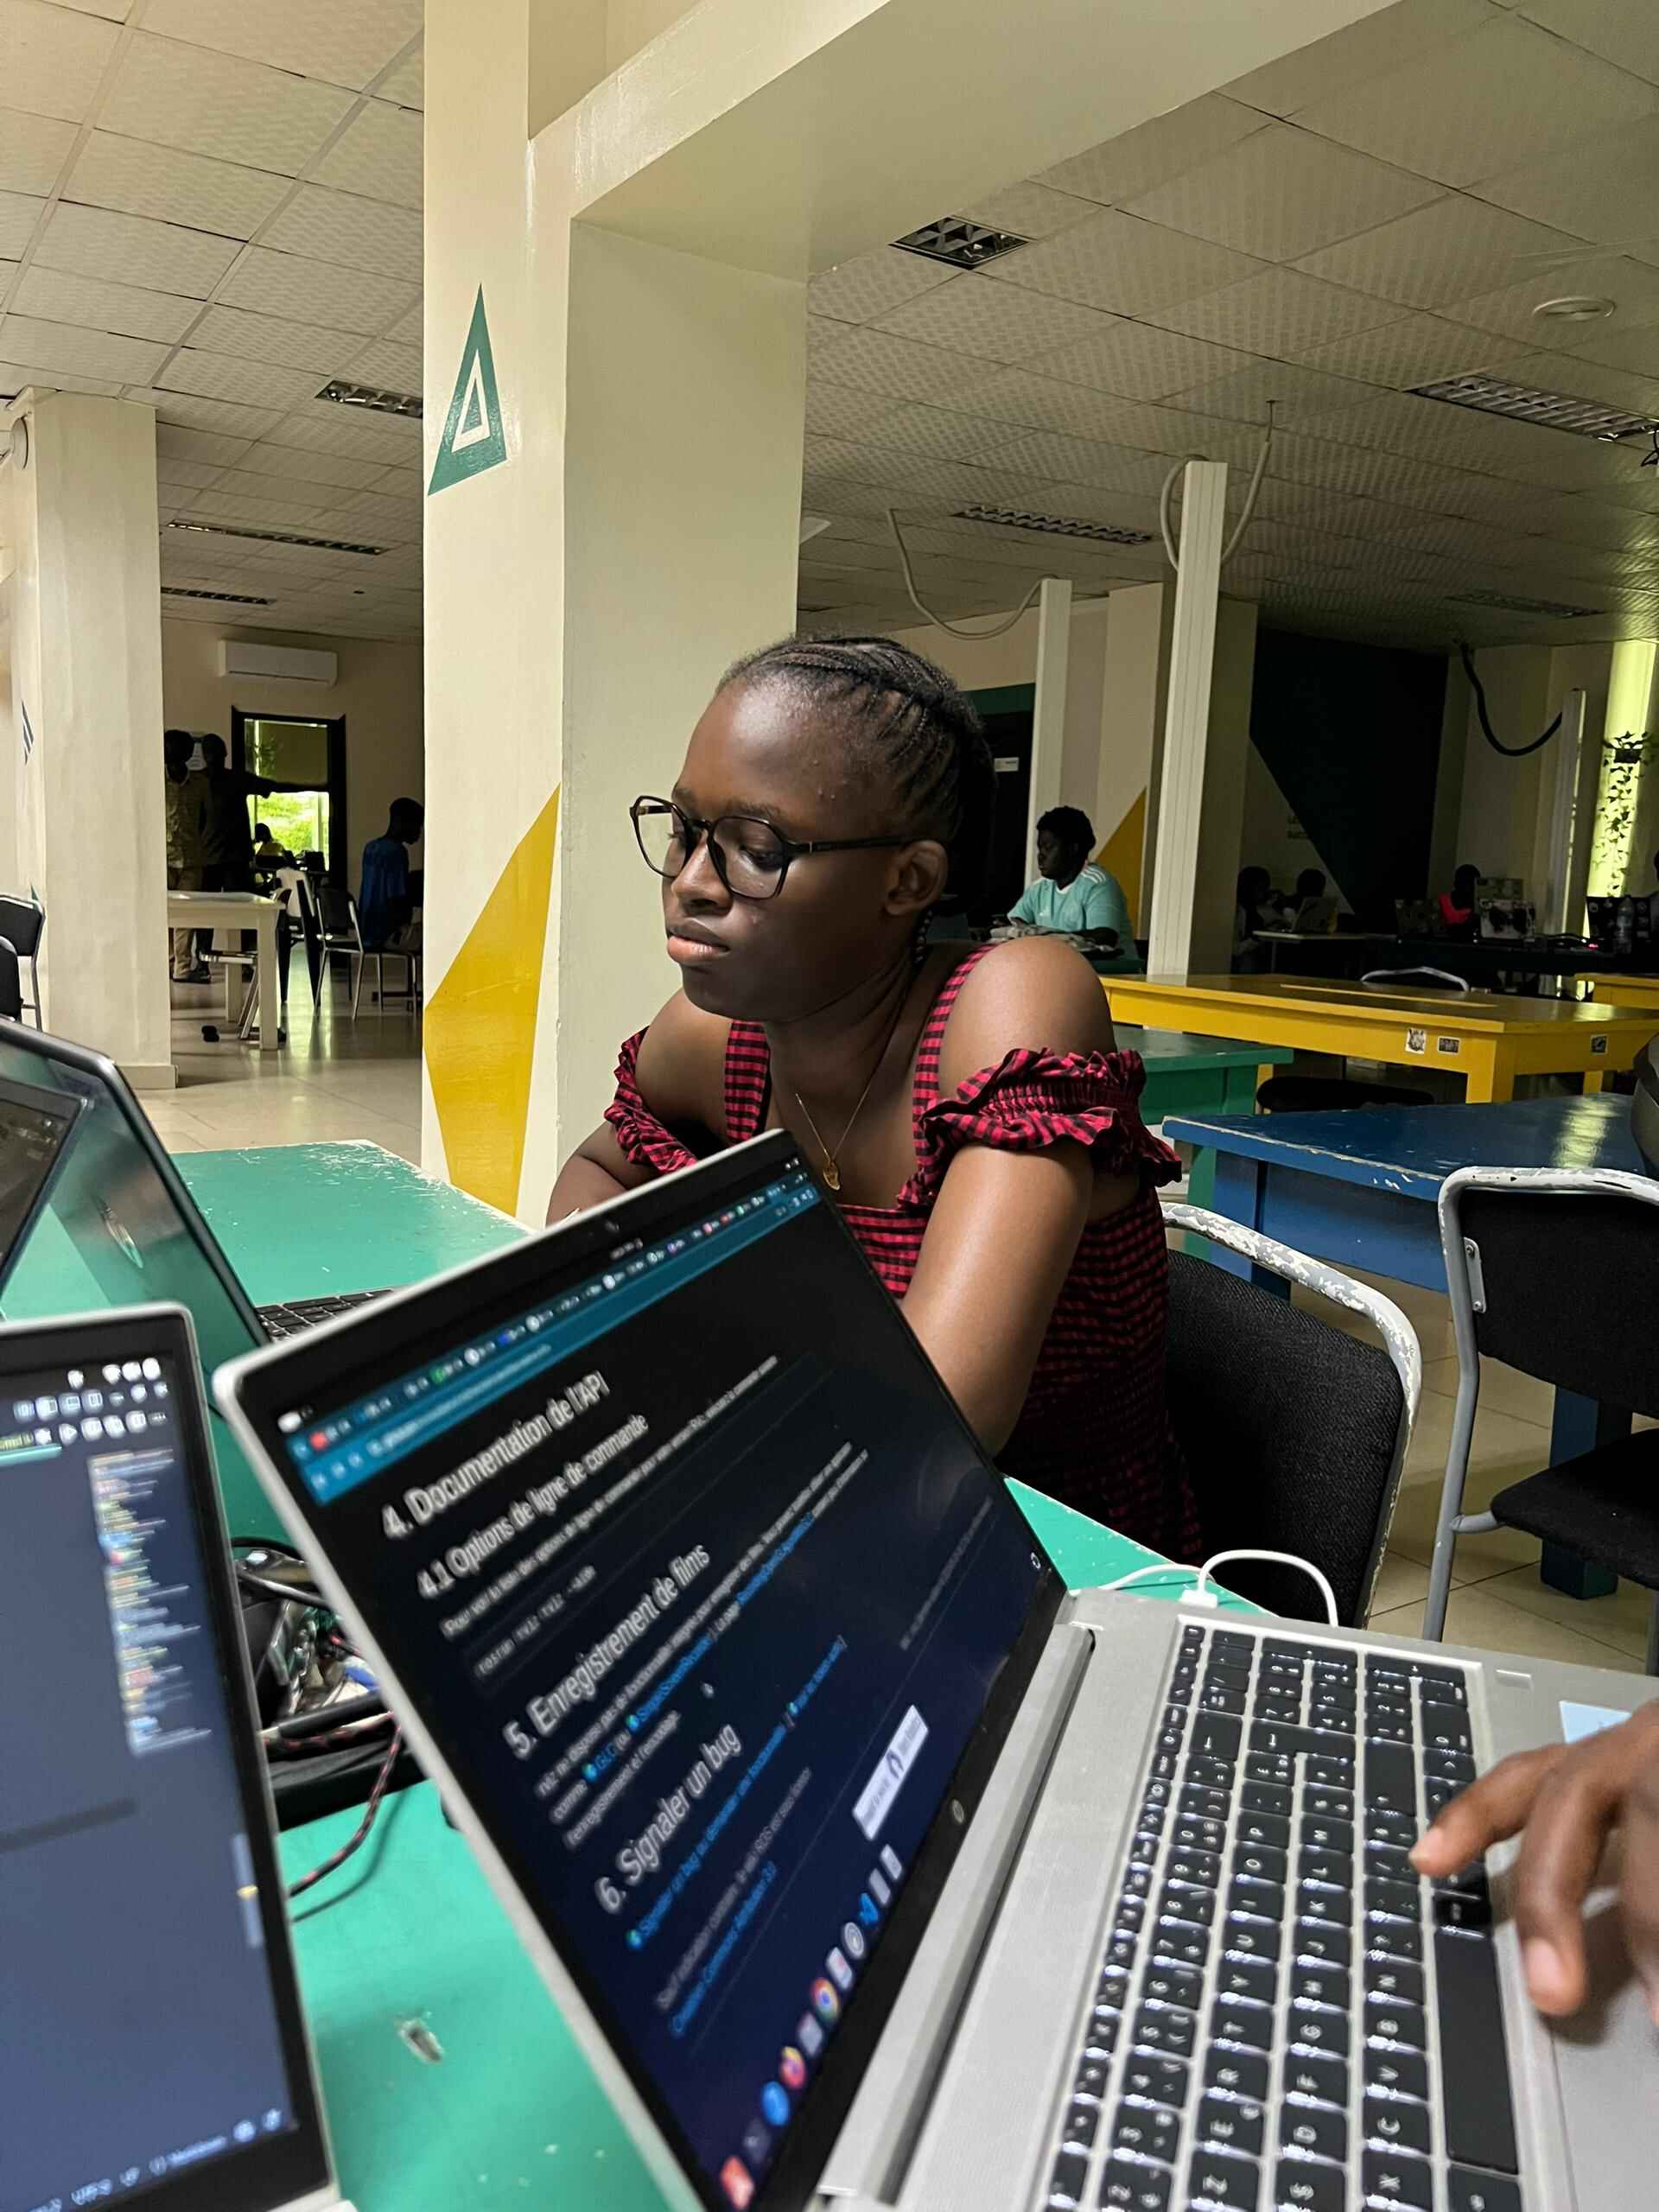
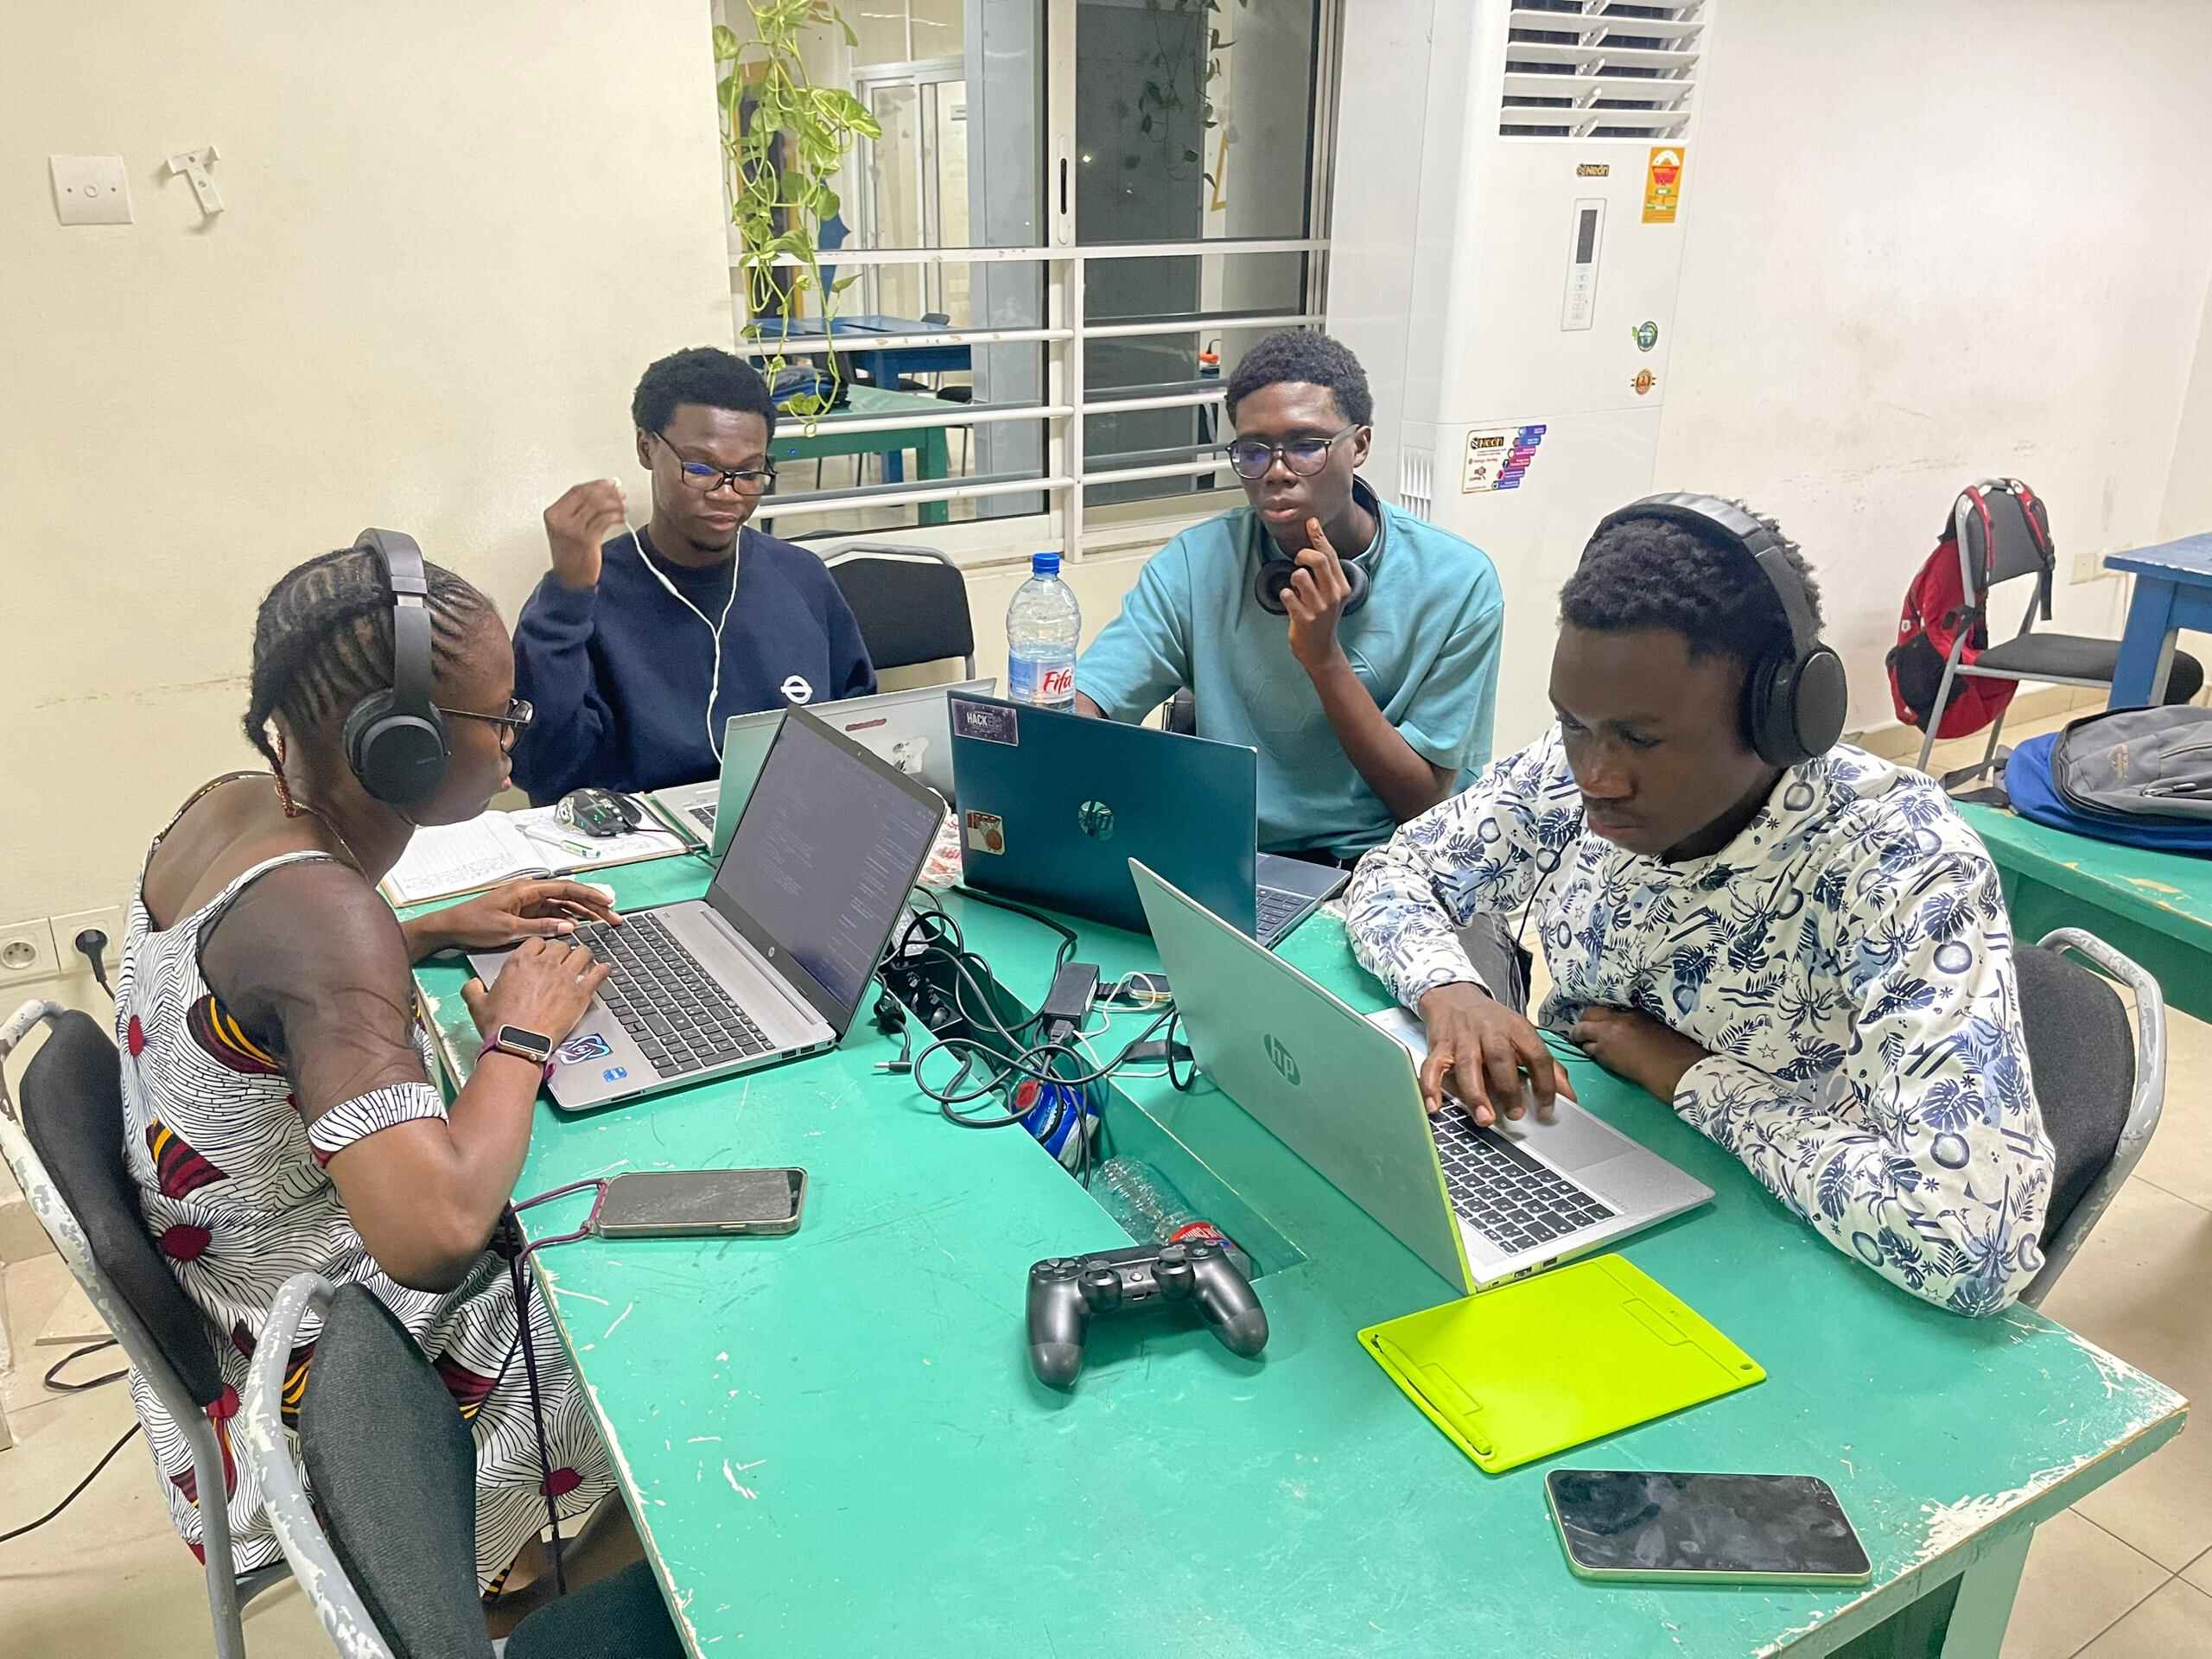
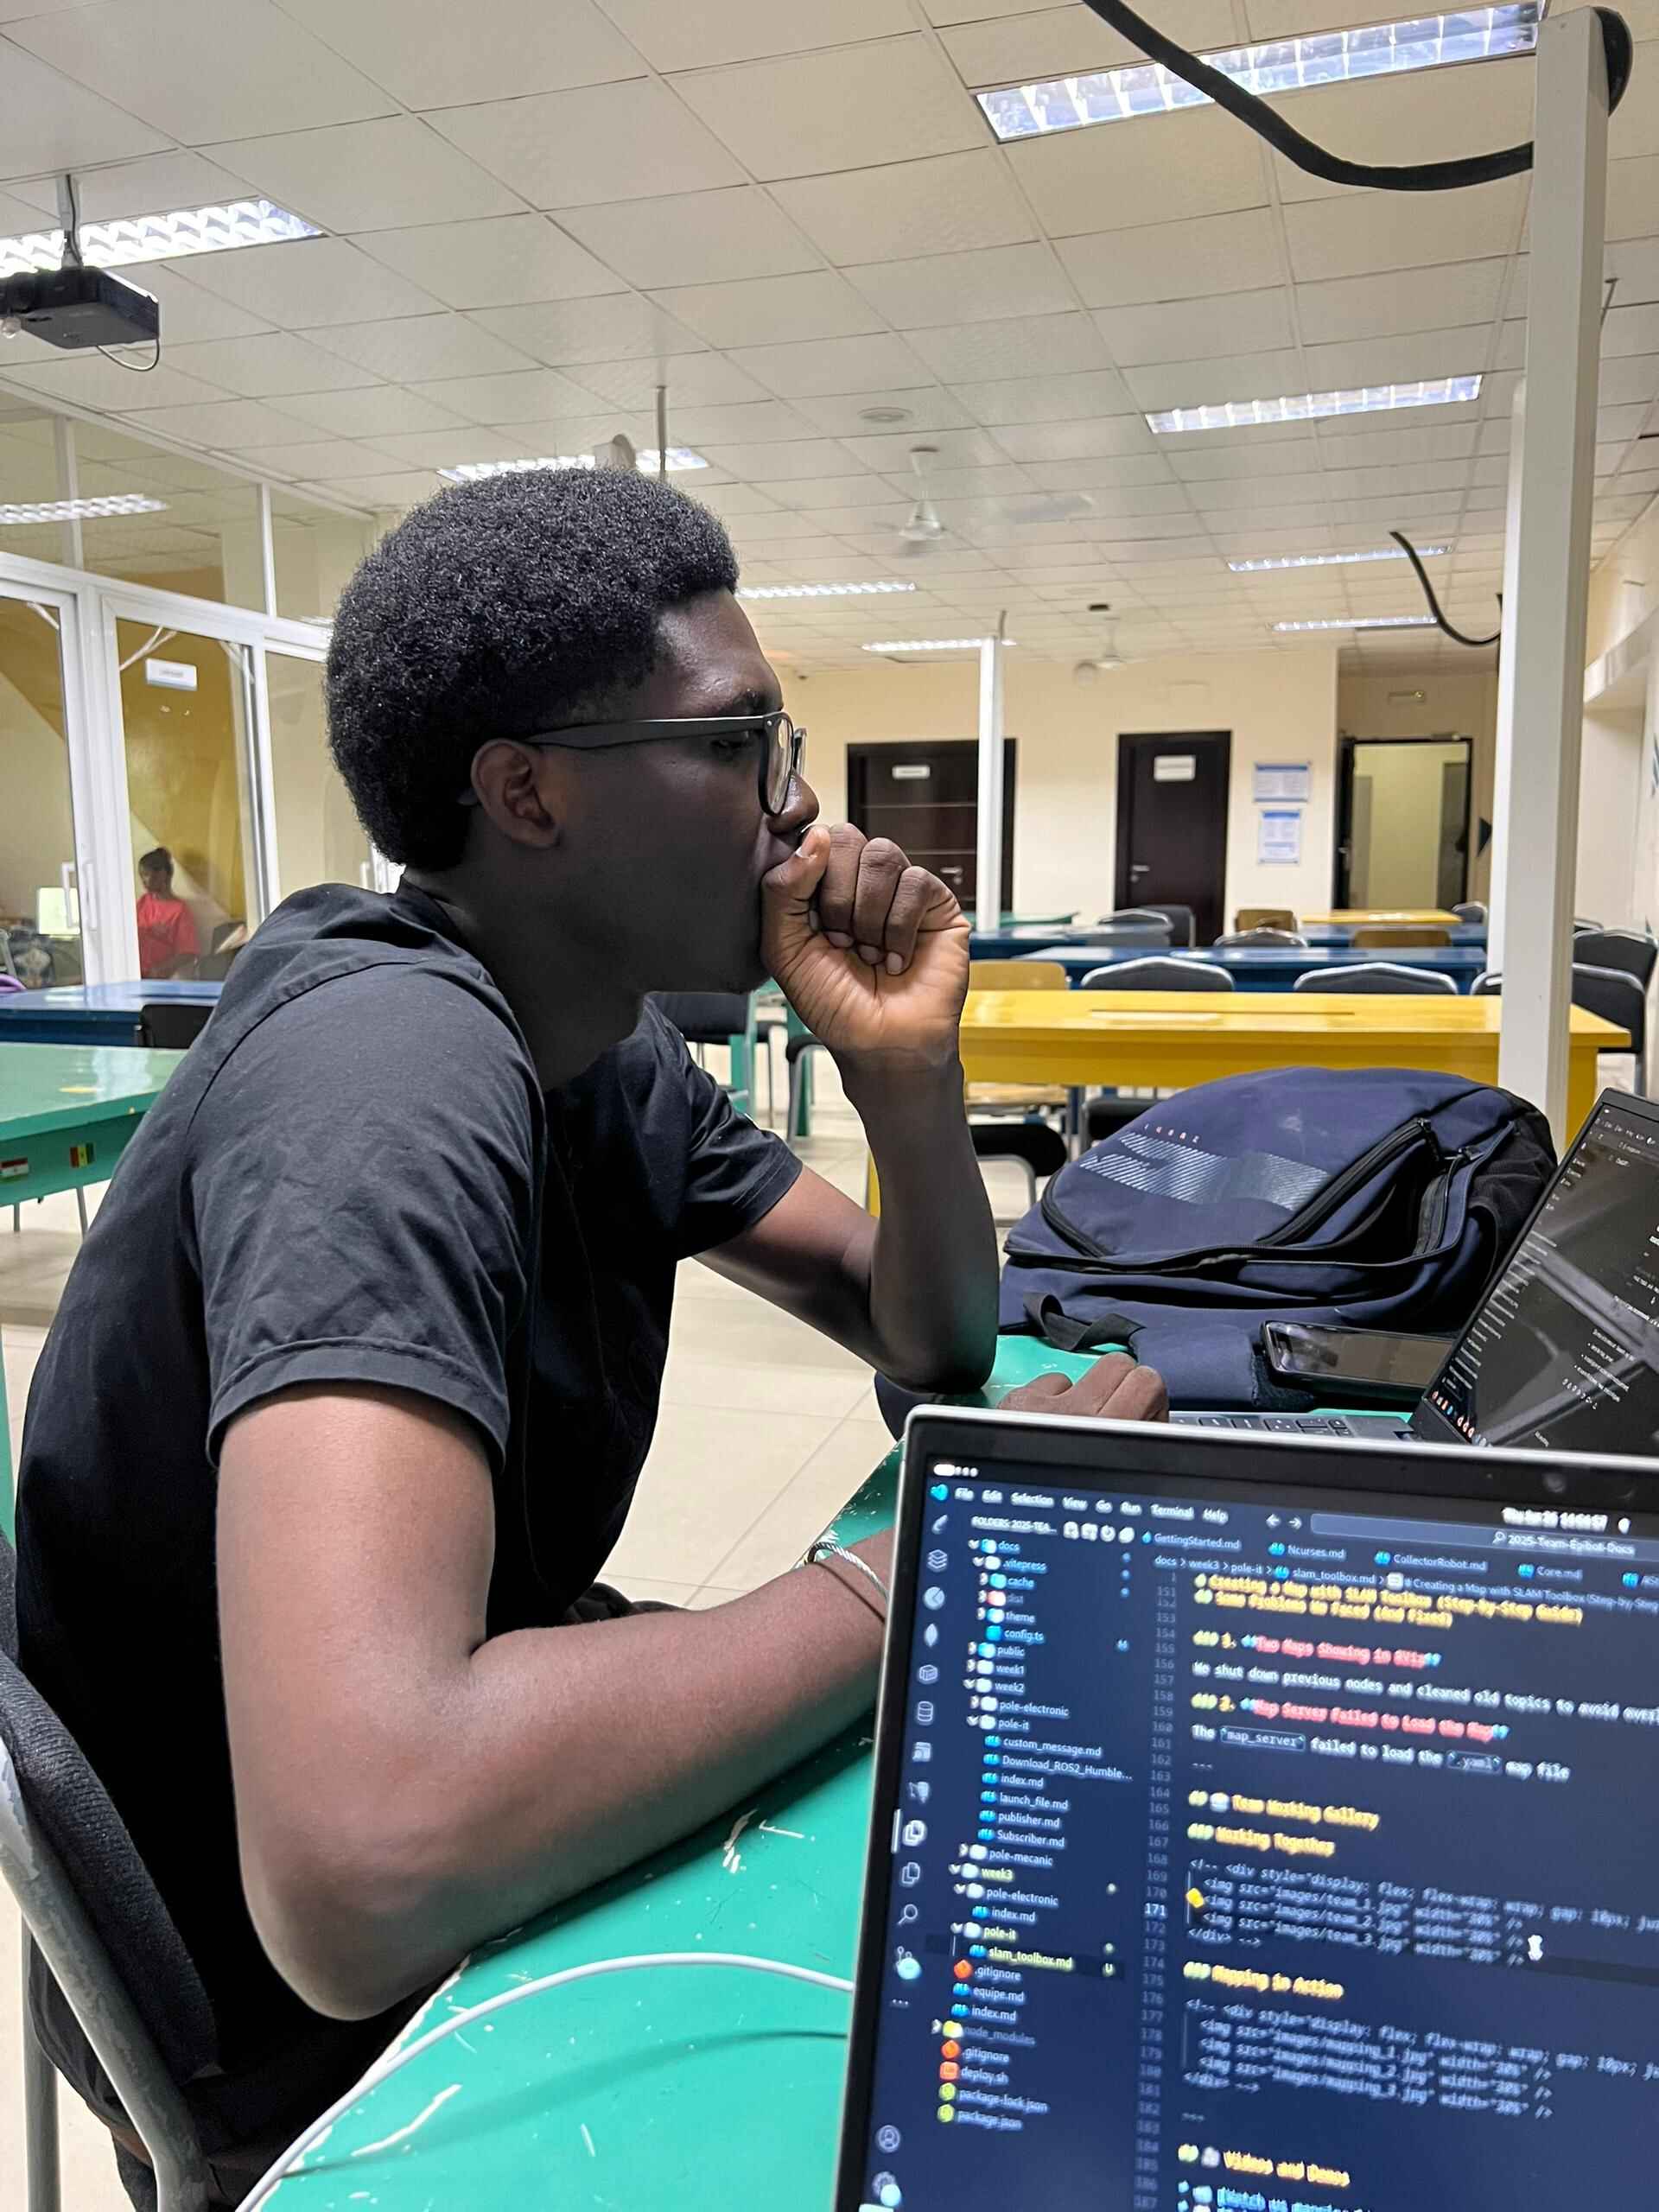
📸 Team Working Gallery


🎥 Videos and Demos
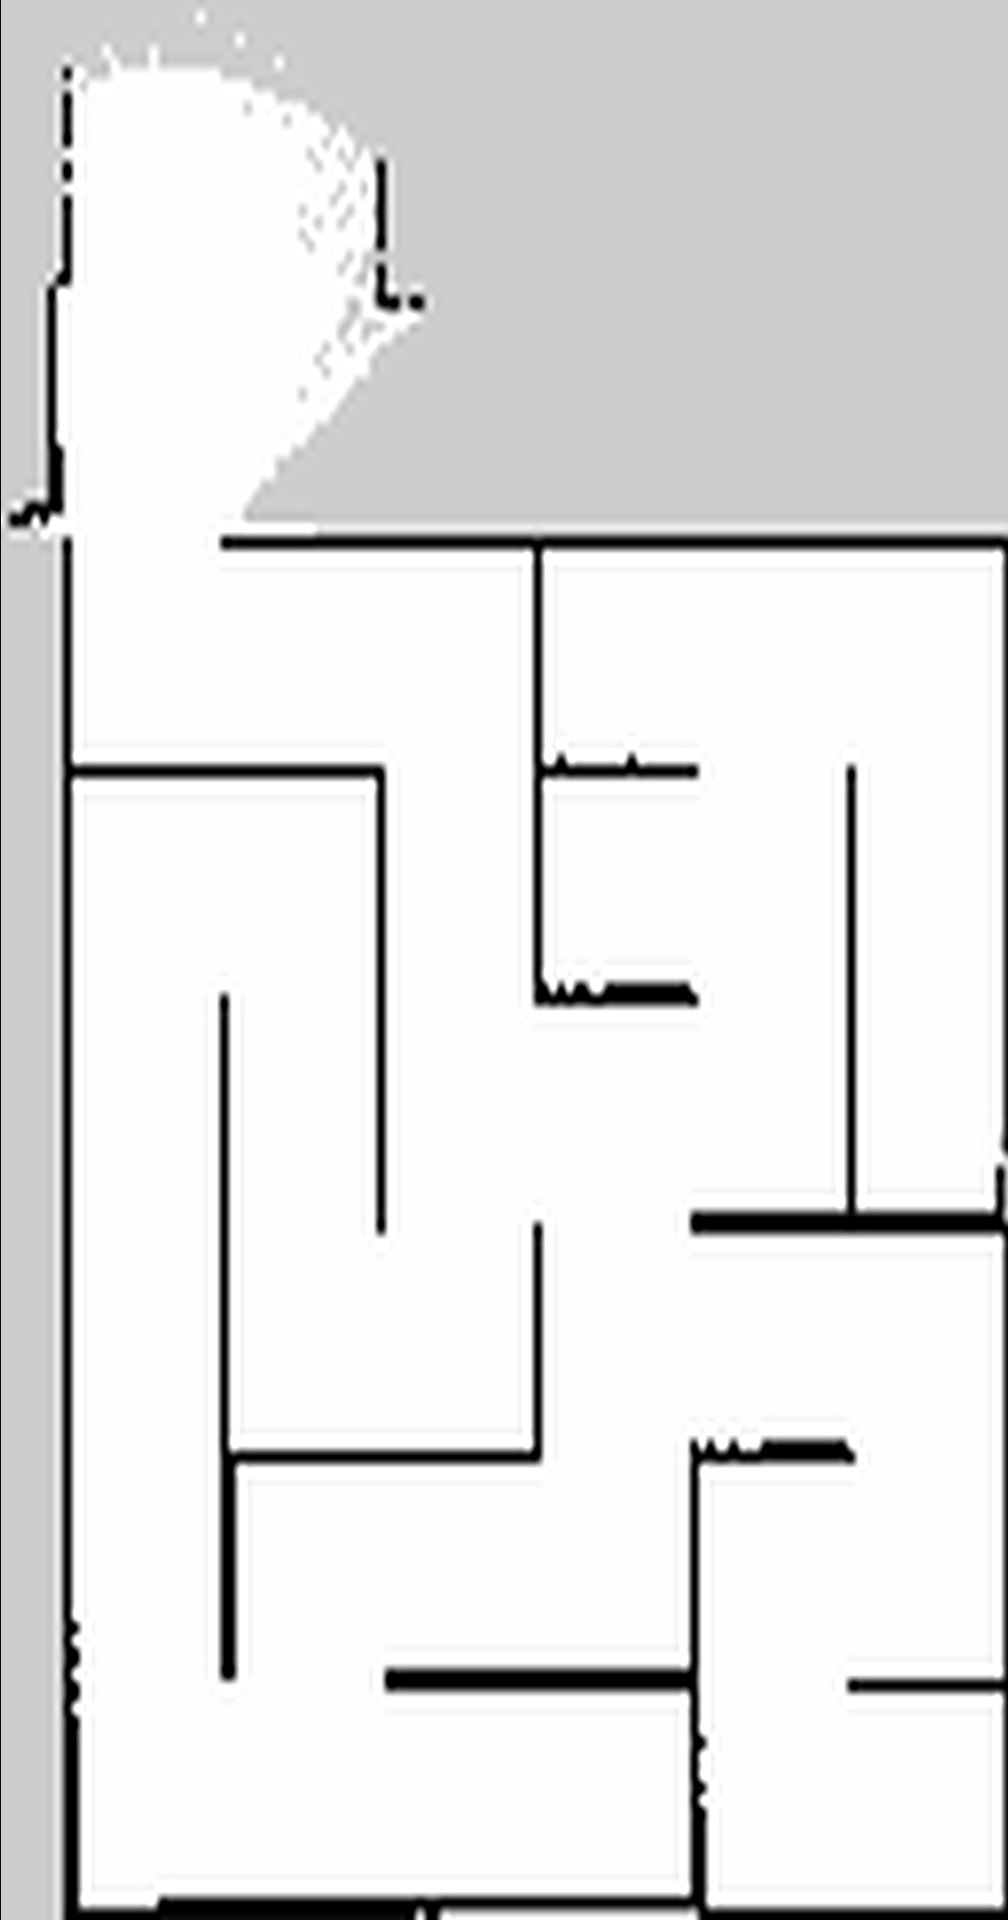
Final map
Summary
We successfully created a map using:
- SLAM Toolbox
- Our robot’s LIDAR and TF
- Manual teleoperation
We learned how to set it up, visualize it, fix errors, and save the final result.