LeRobot Setup and Training Guide
Here are the instructions to walk through the full setup of the lerobot environment, calibration of robotic arms, camera configuration, dataset recording, and policy training. It is based on the official documentation:
1. Environment Installation
Requirements
- Python >= 3.10
- Miniconda
- Ubuntu 20.04 or later (other Linux distros may work)
- pip, git
Installation Steps
# Clone the repo
git clone https://github.com/huggingface/lerobot.git
cd lerobot

# Create a virtual environment with Python 3.10, using Miniconda
conda create -y -n lerobot python=3.10
conda activate lerobot

# install ffmpeg in the environment
conda install ffmpeg -c conda-forge

# Install LeRobot:
pip install -e .2. Connect and Calibrate Robotic Arms
Find the USB ports associated with each arm
Run:
python -m lerobot.find_portAllow access to ports
Run:
# Suppose /dev/ttyUSB0 and /dev/ttyUSB1 are the found ports
sudo chmod 666 /dev/ttyUSB0 /dev/ttyUSB1Find the USB ports for each robot arm.
Connect the Follower Arm

# /dev/ttyUSB0: the port associated to the leader arm
# --robot.id: a given unique name for the robot
python -m lerobot.setup_motors \
  --robot.type=so100_follower \
  --robot.port=/dev/ttyUSB0 \
--robot.id=my_follower_armFollow the CLI instructions to connect and test each motor.
Connect the Leader Arm
# /dev/ttyUSB1: the port associated to the leader arm
# --robot.id: a given unique name for the robot
python -m lerobot.setup_motors \
  --robot.type=so100_leader \
  --robot.port=/dev/ttyUSB1 \
--robot.id=my_leader_armFollow the CLI instructions to connect and test each motor.
Calibration
Calibration ensures that the leader and follower arms have the same position values when they are in the same physical position. The calibration process is very important because it allows a neural network trained on one robot to work on another.
Follower Calibration
# /dev/ttyUSB0: the port associated to the follower arm
# --robot.id: a given unique name for the robot
python -m lerobot.calibrate \
    --robot.type=so100_follower \
    --robot.port=/dev/ttyUSB0 \
--robot.id=my_follower_armLeader Calibration
# /dev/ttyUSB1: the port associated to the leader arm
# --robot.id: a given unique name for the robot
python -m lerobot.calibrate \
    --robot.type=so100_leader \
    --robot.port=/dev/ttyUSB1 \
--robot.id=my_leader_arm3. Teleoperation
# /dev/ttyUSB0: the port associated to the follower arm
# --robot.id: a given unique name for the robot
# /dev/ttyUSB1: the port associated to the leader arm
# --robot.id: a given unique name for the robot
python -m lerobot.teleoperate \
    --robot.type=so100_follower \
    --robot.port=/dev/ttyUSB0 \
    --robot.id=my_follower_arm \
    --teleop.type=so100_leader \
    --teleop.port=/dev/ttyUSB1 \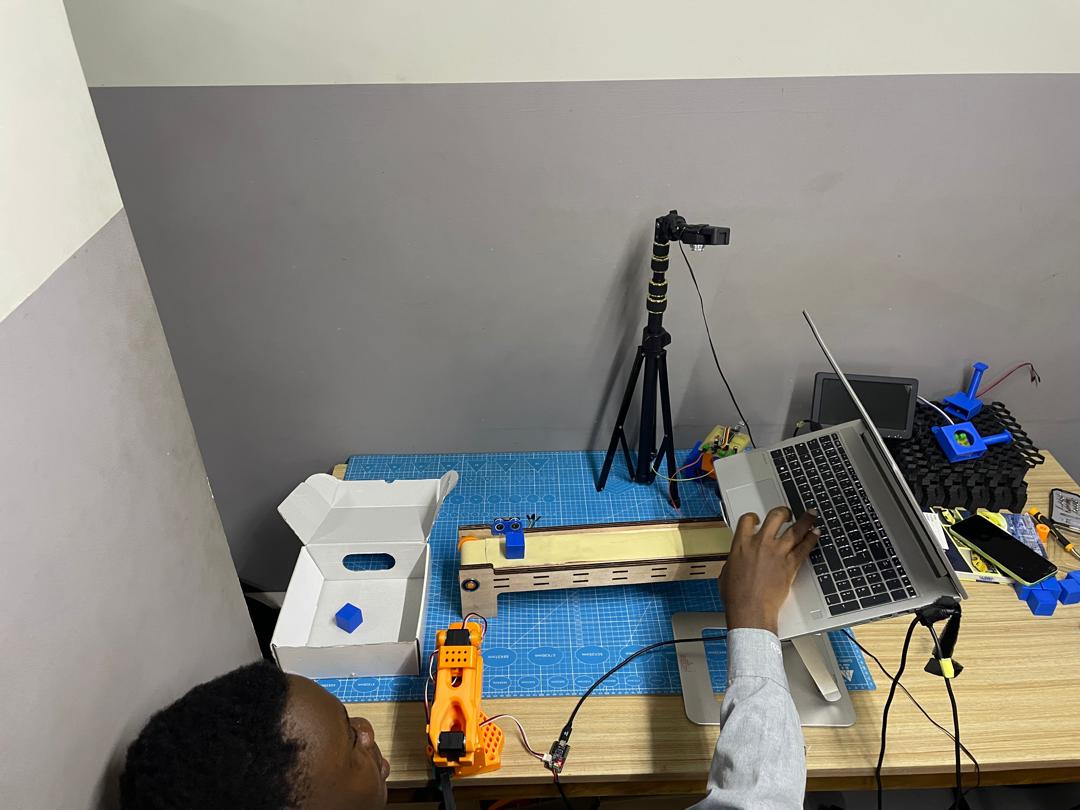
--teleop.id=my_leader_arm4. Camera Setup
5. Dataset Recording
Create Hugging Face token
Use the Hugging Face hub features for uploading datasets. First, login via the cli using a write-access token, this token can be generated from the Hugging Face settings. Add token to the CLI by running this command:
huggingface-cli login --token ${HUGGINGFACE_TOKEN} --add-to-git-credentialThen store the Hugging Face repository name in a variable:
HF_USER=$(huggingface-cli whoami | head -n 1)
echo $HF_USERRun this command to start recording with your laptop camera:
# /dev/ttyUSB0: the port associated to the follower arm
# --robot.id: a given unique name for the robot
# /dev/ttyUSB1: the port associated to the leader arm
# --robot.id: a given unique name for the robot
# --dataset.single_task: a simple description of the task to record
# --dataset.num_episodes=10: number of recorded episodes
# --dataset.episode_time_s=20: duration of an episode
# --dataset.reset_time_s=10: duration of the environment reconfiguration
python -m lerobot.record   --robot.type=so100_follower   --robot.port=/dev/ttyUSB0 \
--robot.id=my_follower_arm \
--robot.cameras="{ front: {type: opencv, index_or_path: /dev/videoX, width: 640, height: 480, fps: 15, warmup_s: 3}}" \
--teleop.type=so100_leader   --teleop.port=/dev/ttyUSB1   --teleop.id=my_leader_arm \
--display_data=false   --dataset.repo_id=${HF_USER}/record-test   --dataset.single_task="Grab the blue cube" \
--dataset.num_episodes=10 --dataset.episode_time_s=20 --dataset.reset_time_s=10Datasets are automatically saved in:
~/.cache/huggingface/lerobot/<your-repo-id>6. Upload and Train Policy
Step 1: Upload dataset to Hugging Face Hub
huggingface-cli upload ${HF_USER}/record-test ~/.cache/huggingface/lerobot/{repo-id} --repo-type datasetStep 2: Train a policy using ACT
We have done the training with Colab by following this ACT training notebook provided by the documentation.
python -m lerobot.scripts.train \
  --dataset.repo_id=${HF_USER}/so100_test \
  --policy.type=act \
  --output_dir=outputs/train/act_so100_test \
  --job_name=act_so100_test \
  --policy.device=cuda \
  --wandb.enable=true \
--policy.repo_id=${HF_USER}/my_policy7. Inference
Once training is done, run the policy on your robot with:
python -m lerobot.record  \
  --robot.type=so100_follower \
  --robot.port=/dev/ttyACM1 \
  --robot.cameras="{ up: {type: opencv, index_or_path: /dev/video10, width: 640, height: 480, fps: 30}, side: {type: intelrealsense, serial_number_or_name: 233522074606, width: 640, height: 480, fps: 30}}" \
  --robot.id=my_awesome_follower_arm \
  --display_data=false \
  --dataset.repo_id=${HF_USER}/eval_so100 \
  --dataset.single_task="Put lego brick into the transparent box" \
  # <- Teleop optional if you want to teleoperate in between episodes \
  # --teleop.type=so100_leader \
  # --teleop.port=/dev/ttyACM0 \
  # --teleop.id=my_awesome_leader_arm \
--policy.path=${HF_USER}/my_policyTroubleshooting
- Check camera compatibility with
v4l2-ctl --list-devices - Lower resolution/fps if OpenCVCamera crashes
- Make sure all USB devices are powered and responsive
- When using your phone with DroidCam make sure virtual camera is started in Obs Studio
For full documentation, refer to the Hugging Face docs: