Deployment Instructions for Conveyor-Site
This document provides detailed instructions on how we deploy the Conveyor-Site project to a production environment.
Prerequisites
Before deploying the application, we ensure that we have:
- A Vercel account (recommended deployment platform)
- Access to a Redis instance (e.g., Upstash)
- Your environment variables ready
Deployment Steps
Deploying to Vercel
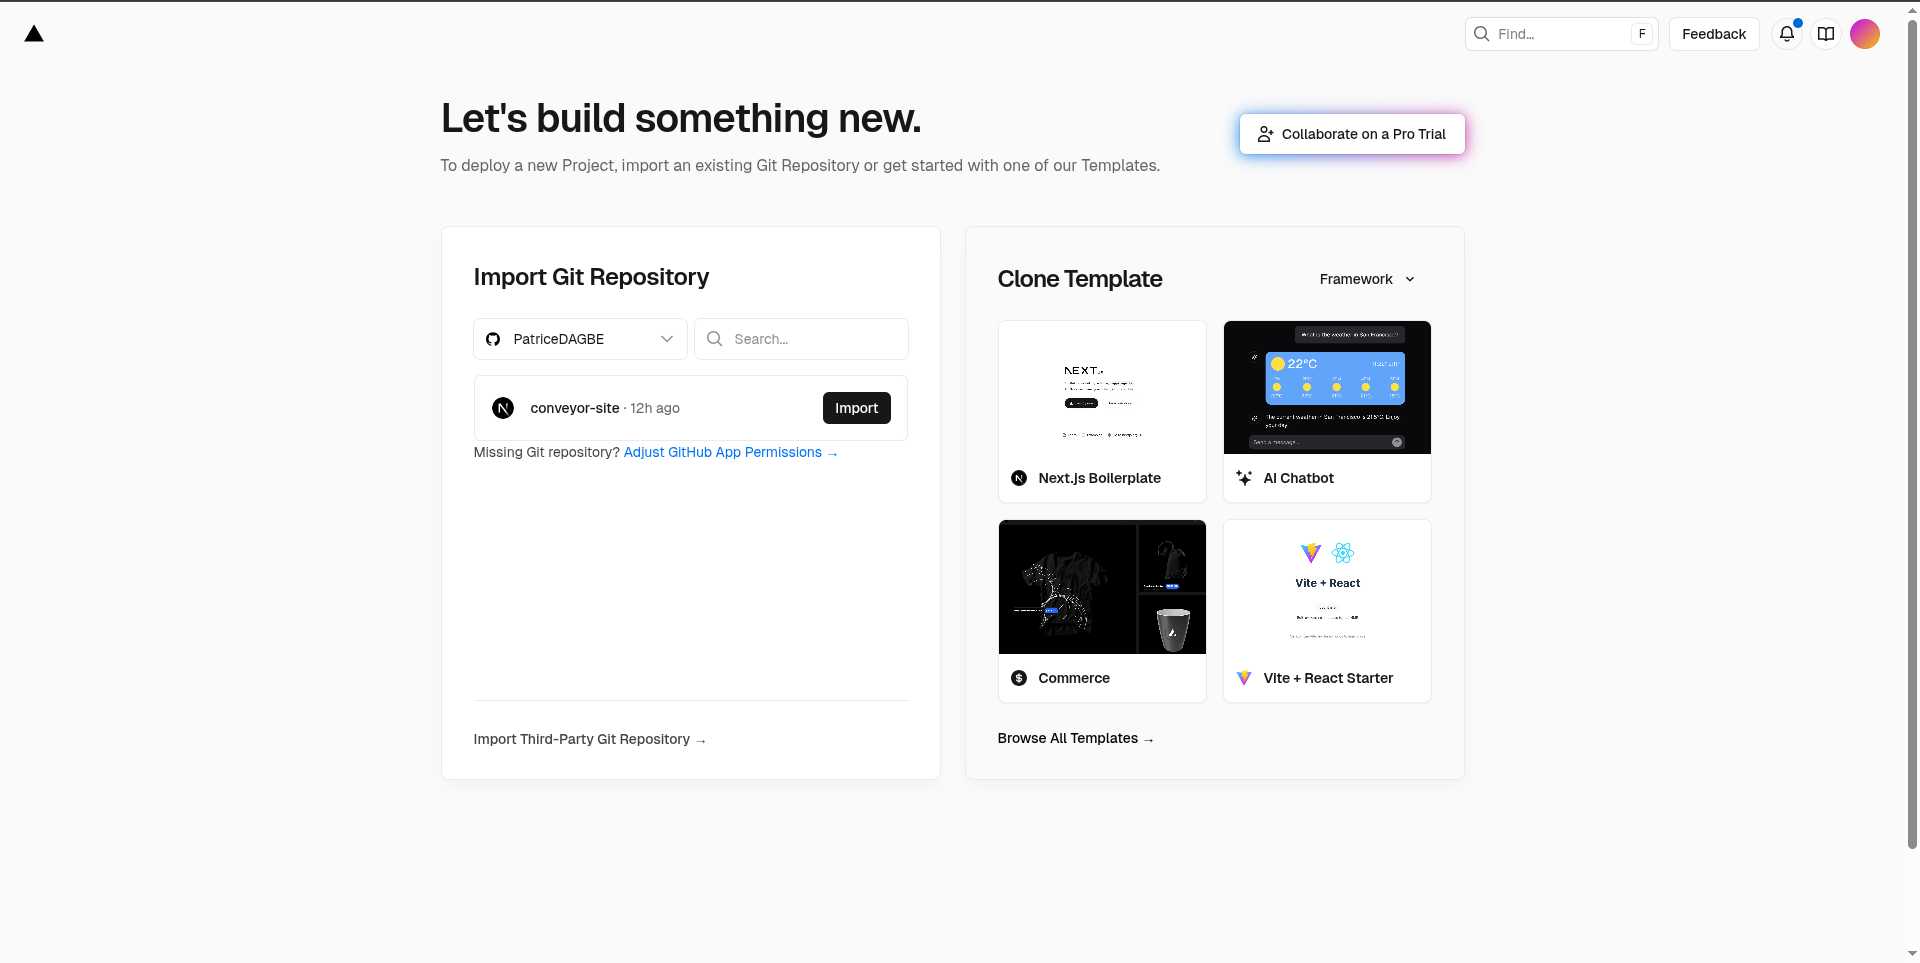
Push your code to GitHub, GitLab, or Bitbucket.
We push our code on GitHub fromconveyor-siterepositorybashgit add . git commit -m "commit" git pushImport your repository into Vercel at https://vercel.com/import.
Configure environment variables as described above.
Deploy: Vercel will automatically build and deploy your application.
After deployment, our app is accessible at the provided Vercel URL (e.g.,https://conveyor-site.vercel.app).
Configuration
Environment Variables:
In your Vercel project dashboard, go to Settings > Environment Variables and add:UPSTASH_REDIS_REST_URL=<your_upstash_redis_url>UPSTASH_REDIS_REST_TOKEN=<your_upstash_redis_token>
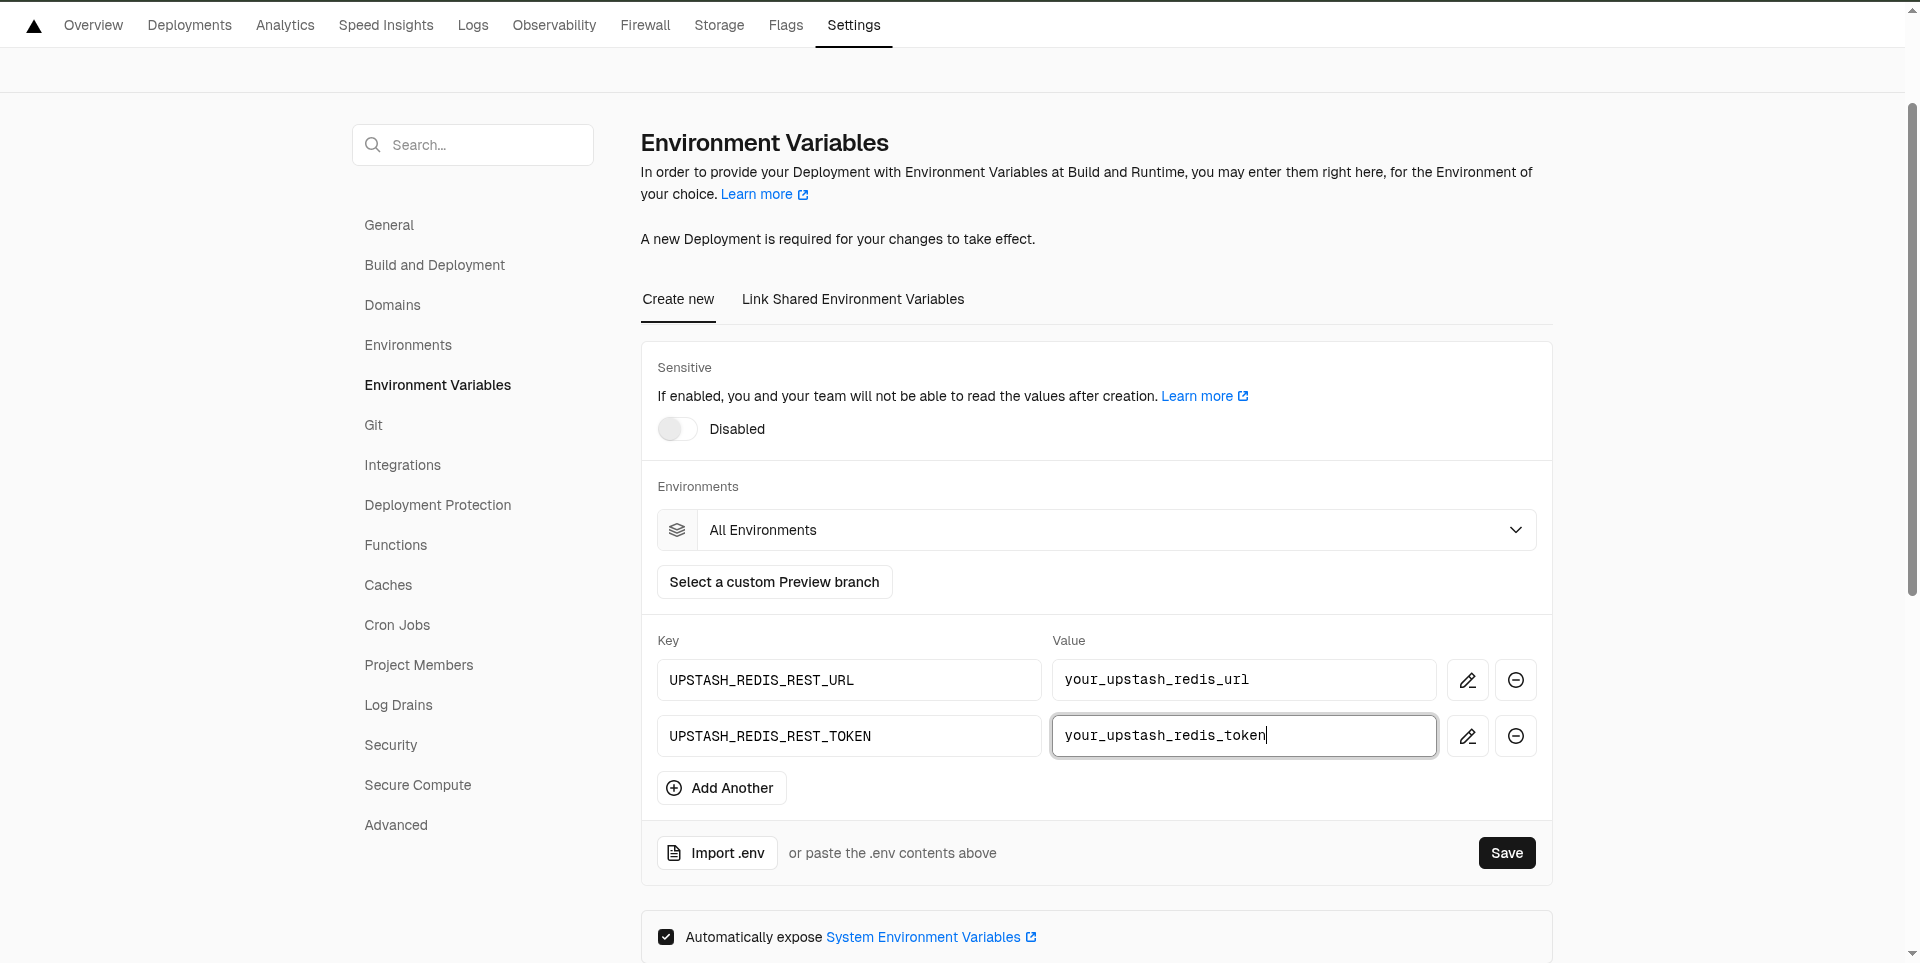
Replace the values with your actual Upstash Redis credentials.
Production Settings:
No special changes are needed fornext.config.mjswhen deploying to Vercel. Vercel automatically optimizes your Next.js app for production.
Conclusion
By following these steps, you can easily deploy Conveyor-Site to production using Vercel. For troubleshooting, refer to the troubleshooting document or Vercel’s documentation.